par Bill Tiepelman
Comment les images peuvent briser le syndrome de la page blanche
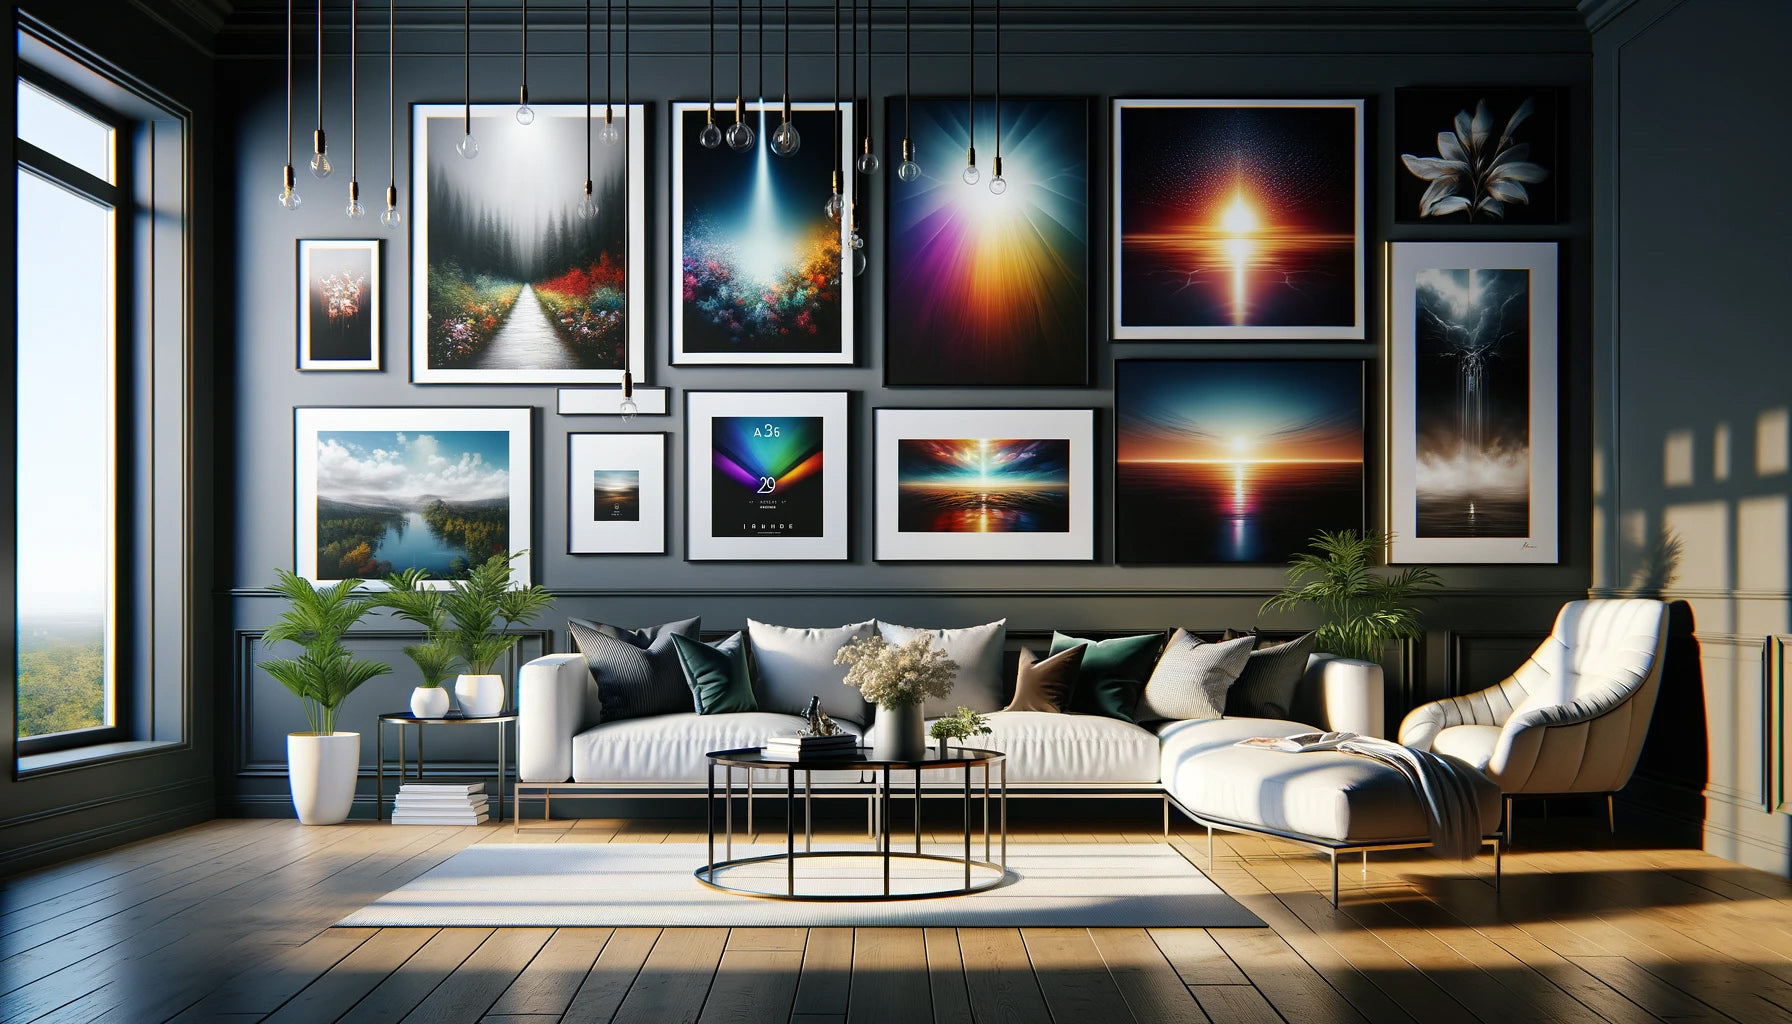
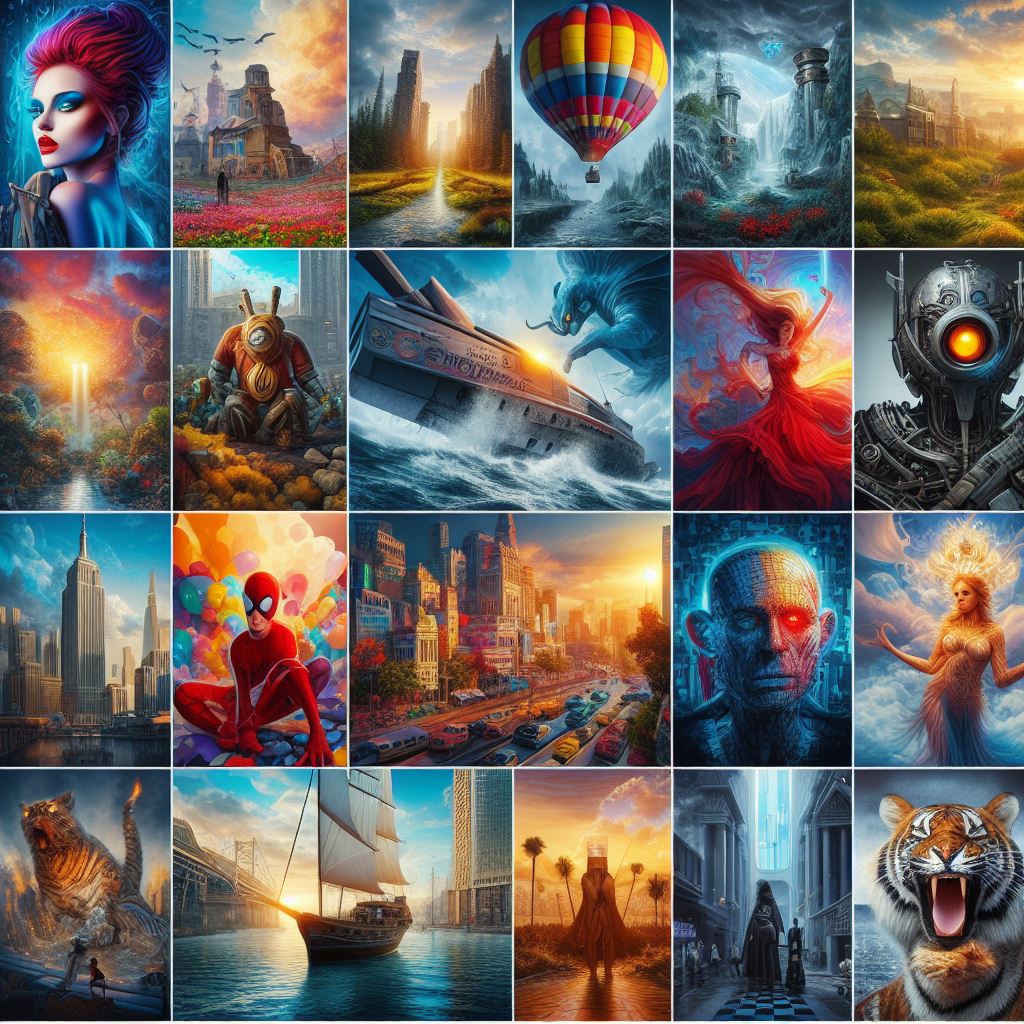
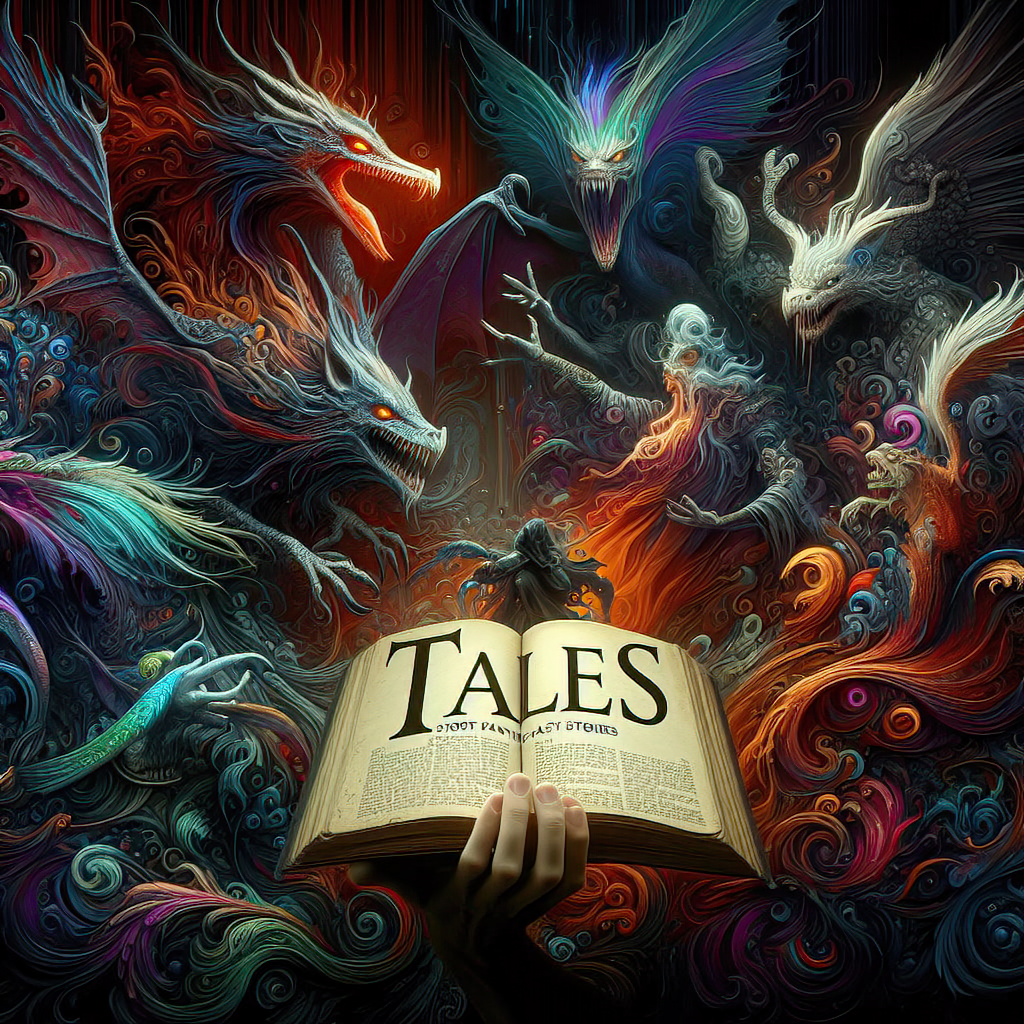
Visualiser la scène : comment les images peuvent briser le syndrome de la page blanche Nous sommes tous passés par là : regarder une page blanche, attendre que les mots viennent, mais au lieu de cela, votre cerveau vous sert des messages statiques. Le syndrome de la page blanche peut donner l'impression d'un vide créatif, mais voici une arme secrète que vous n'avez peut-être pas essayée : les images. Oui, les images. Visualiser vos scènes à travers des images peut être l'étincelle qui rallume votre imagination et fait couler à nouveau ces mots. Que vous ayez du mal à saisir une séquence d'action complexe, une conversation sincère ou un décor vivant, les aides visuelles peuvent vous aider à percer et à clarifier votre écriture. Voyons comment les images peuvent transformer votre processus d'écriture et bannir définitivement le syndrome de la page blanche. Pourquoi la visualisation de vos scènes est utile En tant qu'écrivains, nous traduisons constamment le film que nous imaginons en mots sur une page. Mais lorsque ce film semble flou, il est difficile de trouver les mots justes. Visualiser vos scènes, que ce soit à l'aide de photos, de croquis ou même d'œuvres d'art générées par l'IA, peut vous aider à : Clarifier les détails : voir un décor ou un personnage peut inspirer les détails dont vous avez besoin pour rendre votre écriture vivante. Stimulez la créativité : une seule image peut déclencher des idées de dialogue, d’ambiance ou même de rebondissements dans l’intrigue. Renforcer la description : les références visuelles facilitent l’écriture de scènes richement détaillées qui immergent les lecteurs. Surmonter la paralysie décisionnelle : les images peuvent vous donner un point de départ lorsque vous êtes submergé par les choix. Considérez les images comme des raccourcis vers l’inspiration, un moyen de relancer votre créativité lorsque les mots ne viennent pas. Étape 1 : Définir la scène Commencez par vous demander : quel est le but de cette scène ? S'agit-il d'une confrontation tendue, d'un moment serein de réflexion ou d'une séquence d'action cruciale ? Comprendre le cœur émotionnel de la scène vous aidera à trouver ou à créer des images qui correspondent à son ton. Par exemple: Une scène de bataille peut nécessiter des visuels de mouvements chaotiques, d'armes qui s'entrechoquent et d'un éclairage dynamique. Une scène romantique peut se concentrer sur un éclairage doux, des espaces intimes ou de petits détails tendres. Un décor mystérieux peut inclure des paysages brumeux, des coins ombragés et un éclairage étrange. Notez quelques mots clés ou phrases décrivant l’ambiance de la scène pour guider votre recherche visuelle. Étape 2 : Rechercher ou créer des références visuelles Il est maintenant temps de rassembler des images qui correspondent à votre vision. Voici quelques options : Utilisez la photographie : recherchez des photos pertinentes sur des plateformes comme Unsplash ou Pinterest. Par exemple, si votre scène se déroule dans une forêt, recherchez des images qui capturent la lumière, la texture et l'atmosphère souhaitées. Esquissez-le : même si vous n'êtes pas un artiste, un croquis approximatif peut vous aider à planifier l'emplacement d'un personnage ou l'agencement d'une pièce. Art généré par l'IA : des outils comme DALL-E ou MidJourney vous permettent de créer des visuels personnalisés en fonction d'invites détaillées. Vous avez besoin d'un château lumineux sous un ciel étoilé ? L'IA peut vous aider. Ne vous souciez pas de trouver ou de créer l'image parfaite. L'objectif est de générer des idées, pas de produire une œuvre d'art finie. Étape 3 : Analyser l'image Une fois que vous avez une référence visuelle, consacrez quelques instants à l'étudier. Posez-vous les questions suivantes : Qu'est-ce qui me frappe dans cette image ? Comment l’éclairage, la couleur ou la texture affectent-ils l’ambiance ? Quels petits détails attirent mon attention et comment puis-je les intégrer dans mon écriture ? Par exemple, si vous regardez l'image d'un marché animé, vous remarquerez peut-être les couleurs vives des tissus, le brouhaha des artistes de rue ou le regard méfiant d'un personnage en arrière-plan. Ces détails peuvent enrichir votre scène et lui donner un aspect vivant. Étape 4 : Utilisez le visuel pour commencer à écrire C'est ici que la magie opère. Avec votre référence visuelle en main, commencez à décrire ce que vous voyez. Ne vous souciez pas de la perfection, écrivez simplement les mots. Utilisez l'image comme tremplin pour les détails sensoriels, les actions des personnages ou les indices environnementaux. Par exemple: Décrivez la façon dont la lumière du soleil filtre à travers un vitrail, projetant des motifs colorés sur le sol. Capturez la tension dans les poings serrés d'un personnage ou la façon dont son ombre s'étend sur le mur. Écrivez sur le bruit des vagues lointaines ou sur l’odeur de la terre trempée par la pluie. Même si votre scène évolue au-delà de l’image, le fait d’écrire à partir d’une invite visuelle peut vous aider à trouver votre équilibre et à continuer. Étape 5 : Élargissez votre boîte à outils Si vous trouvez les références visuelles utiles, pensez à en constituer une bibliothèque pour une utilisation ultérieure. Créez des dossiers ou des tableaux pour des catégories spécifiques, telles que : Décors (forêts, villes, intérieurs) Personnages (visages, tenues, postures) Humeurs (dramatique, sereine, inquiétante) Ces collections peuvent devenir des ressources inestimables lorsque vous avez besoin d’un regain d’inspiration rapide ou d’un moyen d’affiner votre vision. Quand utiliser des éléments visuels Visualiser vos scènes est particulièrement utile lorsque : Vous êtes bloqué : une image peut vous apporter la clarté dont vous avez besoin pour avancer. Les détails semblent plats : les images vous aident à ajouter de la profondeur et de la texture à vos descriptions. Vous avez besoin d’idées nouvelles : regarder des visuels sans rapport avec votre histoire peut susciter des connexions inattendues. Utilisez les visuels comme un outil, pas comme une béquille : ils sont censés améliorer votre créativité, pas la remplacer. Réflexions finales Le syndrome de la page blanche ne doit pas être la fin de votre parcours. En vous tournant vers des références visuelles, vous pouvez découvrir de nouvelles perspectives, peaufiner votre narration et raviver votre étincelle créative. Que vous étudiiez une photographie, dessiniez une scène ou génériez une œuvre d'art à l'aide d'IA, les images peuvent être la clé pour donner vie à votre histoire. Alors la prochaine fois que vous regardez cette page blanche, essayez plutôt de regarder une image. Vous pourriez être surpris de la rapidité avec laquelle les mots commencent à couler. Surmontez le blocage de l'écrivain grâce à des outils professionnels de narration visuelle Vous avez du mal à trouver les mots ? Laissez les visuels vous guider. Que vous ayez besoin d'inspiration pour un décor vivant, un personnage convaincant ou l'ambiance d'une scène clé, nous pouvons vous aider à donner vie à votre imagination. Chez Unfocussed Photography and Imaging , nous sommes spécialisés dans la création d'outils visuels sur mesure qui stimulent la créativité et brisent les obstacles les plus difficiles. Références visuelles personnalisées : Collaborez avec nous pour générer des images sur mesure pour les personnages, les paramètres et les thèmes de votre histoire. Mood Boards et concepts de scène : améliorez votre narration avec des aides visuelles conçues par des professionnels qui correspondent à votre vision. Créativité améliorée par l'IA : travaillez avec notre équipe pour intégrer des visuels de pointe générés par l'IA dans votre processus d'écriture. Ne laissez pas le syndrome de la page blanche vous ralentir. Libérez le pouvoir de la narration visuelle et propulsez votre écriture vers de nouveaux sommets. Découvrez nos services dès aujourd’hui et transformez vos idées en histoires inoubliables !
