par Bill Tiepelman
Adaptation d'histoires écrites en récits visuels
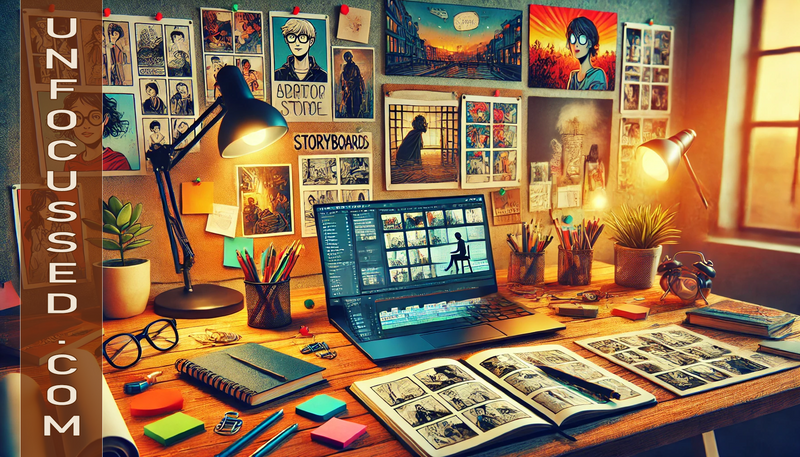
Des mots aux images : adapter des histoires écrites en récits visuels Certaines histoires méritent d'être racontées sous forme de roman graphique, de bande dessinée en ligne ou de storyboard. La combinaison de texte et d'images peut élever la narration vers de nouveaux sommets, en immergeant les lecteurs dans votre monde grâce à des visuels riches et à un rythme dynamique. Mais comment adapter une histoire écrite en récit visuel sans perdre son essence ? Adapter votre histoire en un format visuel est un défi passionnant. Cela vous oblige à penser de manière cinématographique, à rationaliser votre intrigue et à vous concentrer sur les moments clés qui se traduisent bien en images. Dans ce guide, nous découvrirons comment adapter votre travail écrit en un chef-d'œuvre visuel, étape par étape. Pourquoi adapter une histoire en récit visuel ? Avant de nous plonger dans le comment, parlons du pourquoi. Les récits visuels offrent plusieurs avantages uniques : Attrait plus large : les romans graphiques et les bandes dessinées en ligne attirent un public diversifié, y compris les apprenants visuels et ceux qui ne lisent généralement pas de prose. Narration dynamique : les visuels peuvent transmettre des émotions, des actions et une atmosphère d’une manière que les mots seuls ne peuvent souvent pas. Rythme engageant : les panneaux et les mises en page vous permettent de contrôler le flux de votre histoire, en créant des pauses dramatiques, des actions rapides ou des transitions cinématographiques. Opportunités de marché : L’industrie du roman graphique est en plein essor, offrant de nouvelles possibilités de publication et de commercialisation de votre histoire. Si vous avez toujours rêvé de voir vos mots prendre vie visuellement, c'est votre chance de le réaliser. Étape 1 : Choisissez le bon format La première décision que vous devrez prendre concerne le format de votre adaptation visuelle. Chaque support a ses propres atouts : Romans graphiques : parfaits pour les histoires plus longues et plus complexes. Ils permettent de construire un monde détaillé et de créer des récits à plusieurs niveaux. Webcomics : idéal pour la narration épisodique ou le contenu sérialisé, avec la flexibilité de publier en ligne à votre rythme. Storyboards : idéal pour planifier des adaptations à l'écran, visualiser des scènes clés ou présenter votre histoire à des collaborateurs. Tenez compte de la longueur, de la structure et des thèmes de votre histoire lorsque vous choisissez le format qui correspond le mieux à votre vision. Étape 2 : rationalisez votre histoire Adapter une histoire en prose en un récit visuel nécessite de réduire le gras. La narration visuelle se nourrit de brièveté et d'impact, alors concentrez-vous sur les éléments essentiels : Intrigue principale : identifiez le conflit central et assurez-vous qu’il reste la force motrice de votre histoire. Personnages clés : rationalisez votre casting pour éviter de submerger votre public avec trop de visages. Scènes essentielles : mettez en valeur les moments qui définissent votre histoire : introductions, tournants, points culminants et résolutions. Considérez ce processus comme la création d'un squelette visuel de votre histoire. Une fois le cadre établi, vous pouvez y ajouter des détails et des nuances. Étape 3 : Créer un script visuel Un script visuel est un hybride entre un script traditionnel et un plan de storyboard. Il divise votre histoire en panneaux ou scènes, décrivant l'action, le dialogue et les visuels de chacun. Voici un format de base : Page 1, panneau 1 : - Cadre : Un marché animé. - Action : Le protagoniste se déplace dans la foule, scrutant les visages. - Dialogue : (Protagoniste, bulle de pensée) « Où est-il ? Il a dit qu'il serait là. » Se concentrer sur: Disposition des panneaux : décidez du nombre de panneaux par page et de la manière dont ils sont disposés en fonction du rythme et de l'importance donnée à l'élément. Transitions : utilisez des transitions visuelles (comme des gros plans, des plans larges ou des zooms) pour guider l'œil du lecteur. Dialogue et légendes : gardez le texte concis et laissez les visuels faire la majeure partie de la narration. Cette étape comble le fossé entre la narration écrite et l’exécution visuelle. Étape 4 : Collaborer avec des artistes Si vous n'êtes pas vous-même un artiste, c'est là qu'intervient la collaboration. Trouver le bon illustrateur ou designer est essentiel pour concrétiser votre vision. Voici comment commencer : Styles de recherche : examinez les romans graphiques ou les bandes dessinées en ligne que vous admirez et identifiez les styles qui résonnent avec votre histoire. Créez un Mood Board : collectez des images, des couleurs et des motifs qui transmettent le ton de votre histoire à partager avec des collaborateurs potentiels. Utilisez des plateformes indépendantes : des sites comme Behance, ArtStation et Fiverr sont d'excellents endroits pour trouver des artistes talentueux. Soyez clair sur vos attentes, fournissez des références détaillées et maintenez une communication ouverte tout au long du processus. Étape 5 : Concentrez-vous sur les thèmes visuels Les récits visuels ne se résument pas à dessiner de jolies images : ils utilisent des images pour enrichir la narration. Pensez à : Palettes de couleurs : utilisez les couleurs pour créer l'ambiance de chaque scène ou refléter les arcs de personnages. Symbolisme : incorporez des motifs visuels qui ajoutent de la profondeur et du sens à votre histoire. Éclairage et atmosphère : jouez avec les ombres, les reflets et les textures pour créer un sentiment d'appartenance et d'émotion. Par exemple, une palette sombre et atténuée peut signifier un danger ou un mystère, tandis que des tons clairs et vibrants suggèrent l’espoir et l’énergie. Étape 6 : Adoptez le processus itératif Créer un récit visuel est un processus collaboratif et itératif. Préparez-vous à des révisions à mesure que vous et votre artiste peaufinez chaque page ou panneau. Tenez compte des commentaires des bêta-lecteurs ou des premiers publics pour vous assurer que votre histoire résonne à la fois visuellement et narrativement. Étape 7 : Publier et partager Une fois votre récit visuel terminé, il est temps de le partager avec le monde. Pensez aux plateformes suivantes : Édition imprimée : soumettez votre roman graphique aux éditeurs ou auto-publiez-le via des services comme Amazon KDP. Plateformes en ligne : Publiez des webcomics sur des plateformes comme Webtoon, Tapas ou votre propre site Web. Médias sociaux : utilisez des plateformes comme Instagram ou TikTok pour partager des extraits et promouvoir votre travail. Engagez votre public en partageant des aperçus des coulisses de votre processus créatif, des premières esquisses aux pages finales. Réflexions finales Adapter une histoire écrite en récit visuel est une expérience transformatrice. Cela vous met au défi de repenser la structure de votre histoire, de vous concentrer sur ses éléments visuels et de collaborer avec des artistes talentueux pour donner vie à votre vision. Qu'il s'agisse d'un roman graphique, d'une bande dessinée en ligne ou d'un storyboard, votre histoire acquiert une nouvelle dimension qui captive et inspire. Alors, prenez votre script, dessinez vos cases et sautez dans la narration visuelle. Votre histoire est prête à être vue. Donnez vie à vos histoires grâce à des services professionnels de narration visuelle Transformer votre histoire écrite en un chef-d'œuvre visuel ne doit pas être une tâche ardue. Que vous rêviez d'un roman graphique, d'une bande dessinée en ligne ou d'un storyboard détaillé, nous sommes là pour vous aider à chaque étape du processus. Chez Unfocussed Photography and Imaging , nous nous spécialisons dans la création de visuels époustouflants qui donnent vie à votre récit. Storyboards personnalisés : collaborez avec notre équipe pour décrire votre histoire visuellement, image par image. Conception de personnages et de scènes : laissez-nous créer des visuels détaillés qui capturent l'essence des personnages et des moments clés de votre histoire. Accompagnement en matière de roman graphique et de webcomic : de la conceptualisation aux panneaux finis, nous vous fournissons l'expertise artistique dont vous avez besoin pour faire briller votre histoire. Ne vous contentez pas de raconter votre histoire : montrez-la. Laissez-nous vous aider à créer un récit visuel captivant et inspirant. Découvrez nos services dès aujourd’hui et donnez vie à votre vision !
