Creative writing tools

Creative Chronicles: Mastering Visuals and Words

View

Turning Scenes Into Storyboards

by Bill Tiepelman

Turning Scenes Into Storyboards

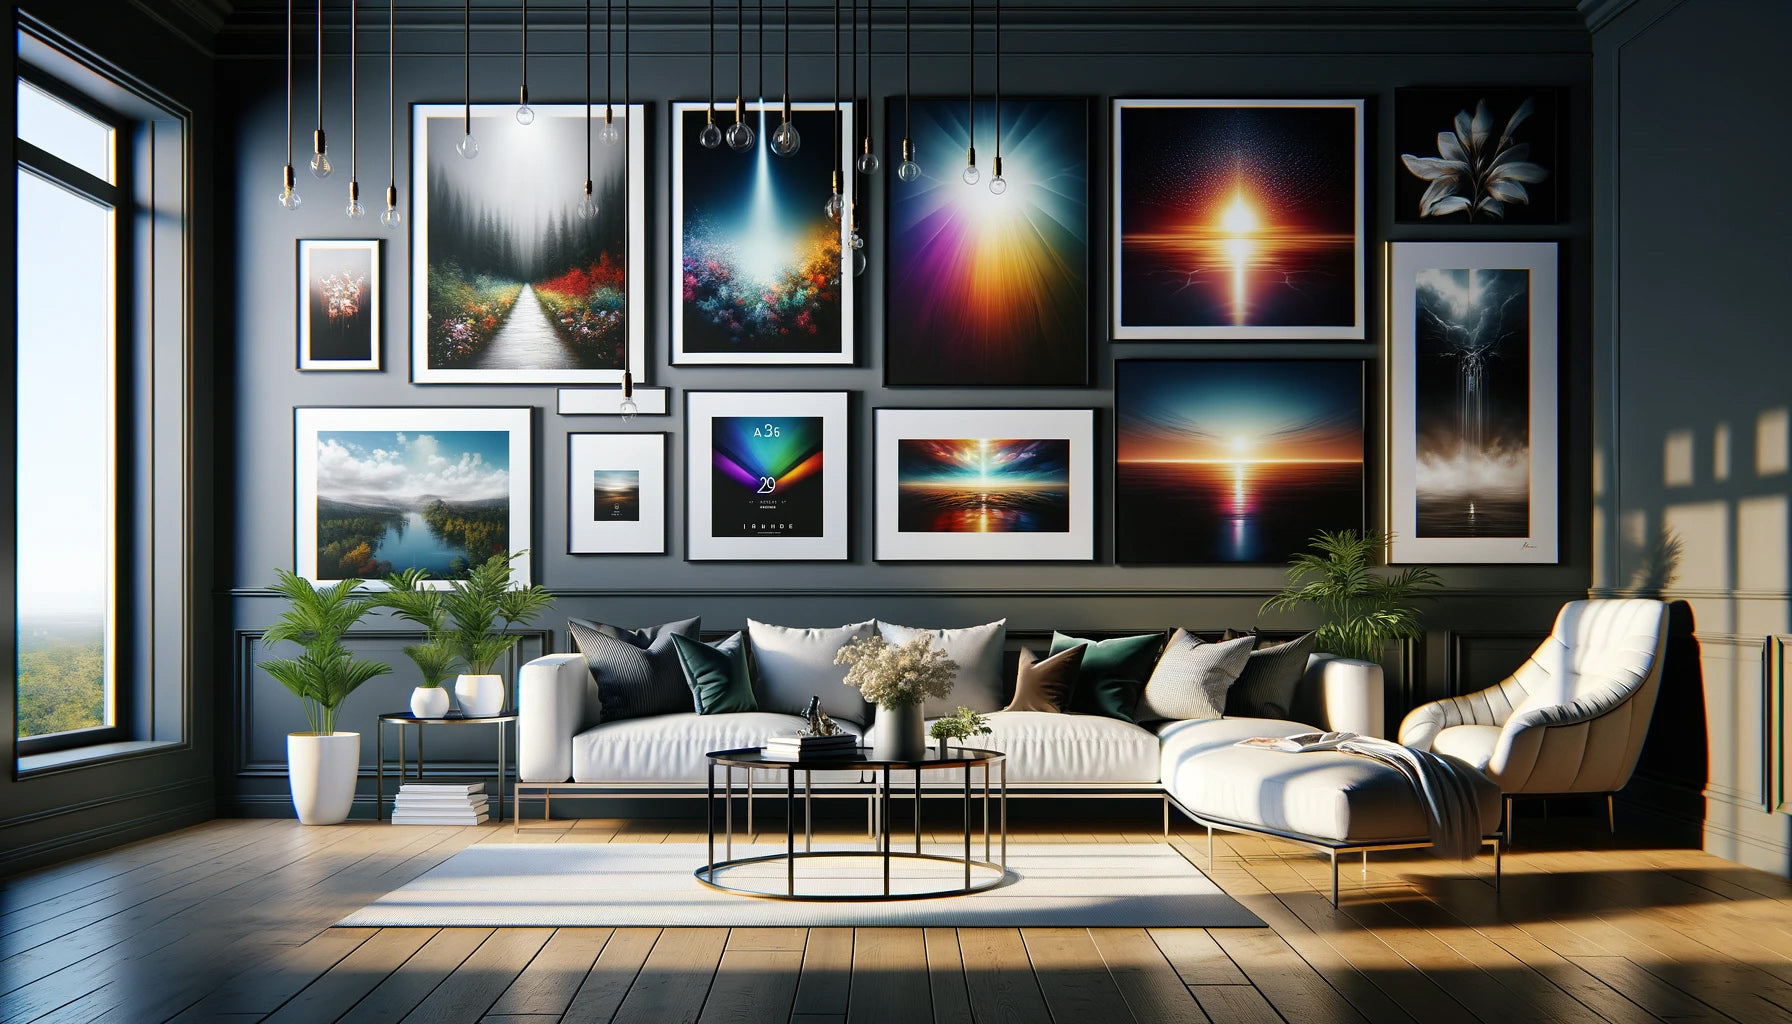
Turning Scenes Into Storyboards: A Secret Weapon for Writers As writers, we often see our stories play out like movies in our minds. But when it comes time to put those cinematic moments into words, the details can get fuzzy, pacing might falter, and the emotional impact doesn’t always hit the way it should. That’s where storyboarding comes in. While it’s traditionally a tool for filmmakers, storyboarding can be a game-changer for writers, helping you visualize key scenes, refine pacing, and even uncover hidden layers of your narrative. So, what exactly is storyboarding for writers, and how can you use it to elevate your storytelling? Let’s dive in. What Is Storyboarding for Writers? At its core, storyboarding is a visual representation of your story, broken down into panels or frames that depict the sequence of events. Think of it as creating a comic strip version of your scenes, where each panel represents a moment in time. While filmmakers use it to plan camera angles and movement, writers can use it to map out action, dialogue, and even emotional beats in a scene. The best part? You don’t need to be an artist to create a storyboard. Stick figures, rough sketches, or even a series of descriptive captions can work wonders. Why Writers Should Use Storyboards Storyboarding might sound like extra work, but trust me, it’s worth it. Here’s how it can transform your writing process: Clarify Pacing: Seeing a scene laid out visually helps you identify if events are unfolding too quickly or dragging on too long. Enhance Visual Details: Storyboarding forces you to think about the physical space, character movements, and visual elements in your scenes. Identify Plot Holes: By mapping out a sequence of events, you’ll quickly spot gaps or inconsistencies in the narrative. Strengthen Emotional Impact: Visualizing characters’ expressions and body language can help you write more powerful emotional beats. Step 1: Choose a Scene to Storyboard Start small. Pick a pivotal scene—maybe it’s a dramatic confrontation, a chase sequence, or a tender moment of connection. This could be a scene you’re struggling to write or one that’s crucial to your story’s arc. For example, if you’re working on a high-stakes action scene, storyboarding can help you track the physical movements of characters, making the sequence feel more dynamic and realistic. Step 2: Break It Down Into Beats Every scene has beats—key moments or actions that drive the narrative forward. Before sketching or drafting your storyboard, write down these beats. For instance, in a confrontation scene, the beats might include: The characters enter the room and size each other up. The protagonist makes an accusation. The antagonist deflects, revealing new information. The conversation escalates into a heated argument. The antagonist storms out, leaving the protagonist reeling. Breaking the scene into beats ensures you don’t miss any critical moments when storyboarding. Step 3: Create Your Panels Now it’s time to bring the scene to life. Draw a series of panels on a sheet of paper or use digital tools like Canva or Storyboard That. Each panel should represent one beat or moment in the scene. For writers who aren’t comfortable drawing, don’t worry! Stick figures, arrows, and descriptive captions are more than enough to communicate what’s happening. The goal isn’t artistry—it’s clarity. Step 4: Add Details As you fill in your panels, think about the details: Character Placement: Where are your characters standing? Are they close together or far apart? Are they sitting or moving? Facial Expressions: What emotions are they feeling, and how can you show that visually? Environment: What does the setting look like? Are there props or elements in the background that add to the scene’s mood? These details will help you bring the scene to life in your writing, making it more vivid and immersive for readers. Step 5: Analyze and Adjust Once your storyboard is complete, step back and look at the sequence as a whole. Ask yourself: Does the scene flow logically from one moment to the next? Are the pacing and rhythm satisfying? Do the visuals match the tone and emotion of the scene? If something feels off, adjust your panels until everything clicks. Then, use your storyboard as a guide while writing or revising the scene. Going Beyond Individual Scenes Once you’ve mastered storyboarding for single scenes, try using it for larger sections of your story or even the entire plot. Visualizing your narrative arc can help you spot patterns, themes, and pacing issues across the story as a whole. For example, you might storyboard a series of connected scenes to ensure they flow smoothly or map out a complex climax to keep track of multiple characters and events. Tools and Resources for Storyboarding If you’re ready to give storyboarding a try, here are some tools to get you started: Pen and Paper: The simplest and most accessible method. Grab a notebook and start sketching! Digital Tools: Canva, Storyboard That, and Adobe Spark offer templates and easy-to-use interfaces for digital storyboarding. AI Tools: Platforms like DALL-E or Artbreeder can help you generate quick visuals to include in your panels. Final Thoughts Storyboarding isn’t just for filmmakers—it’s a versatile and powerful tool for writers. Whether you’re mapping out an action-packed chase or an emotionally charged dialogue, storyboarding can help you visualize, refine, and elevate your scenes. And the best part? You don’t need artistic talent to make it work. So grab your pen, your laptop, or whatever tools you have on hand, and start turning your scenes into storyboards. Your story will thank you for it.     Visualize Your Story Like Never Before Storyboarding isn’t just for filmmakers—it’s a powerful tool for writers to bring their scenes to life. But what if you could take your storyboarding to the next level with professional-quality visuals and expert guidance? At Unfocussed Photography and Imaging, we offer services tailored to writers looking to enhance their storytelling process. Whether you’re outlining scenes, refining pacing, or creating visuals for pitches and promotions, we’re here to help. Custom Storyboard Design: Collaborate with us to create detailed, visually stunning storyboards for your key scenes or entire narrative. Scene Concept Visualizations: Translate your ideas into polished, professional artwork that captures the essence of your story. Character and Setting Sketches: Add depth to your world-building with bespoke illustrations of your story’s key elements. Bring your story to life with visuals that resonate and captivate. Let’s make your vision a reality. Explore our services today and take your storytelling to new heights!
Read more

Mood Boards Aren’t Just for Pinterest

by Bill Tiepelman

Mood Boards Aren’t Just for Pinterest

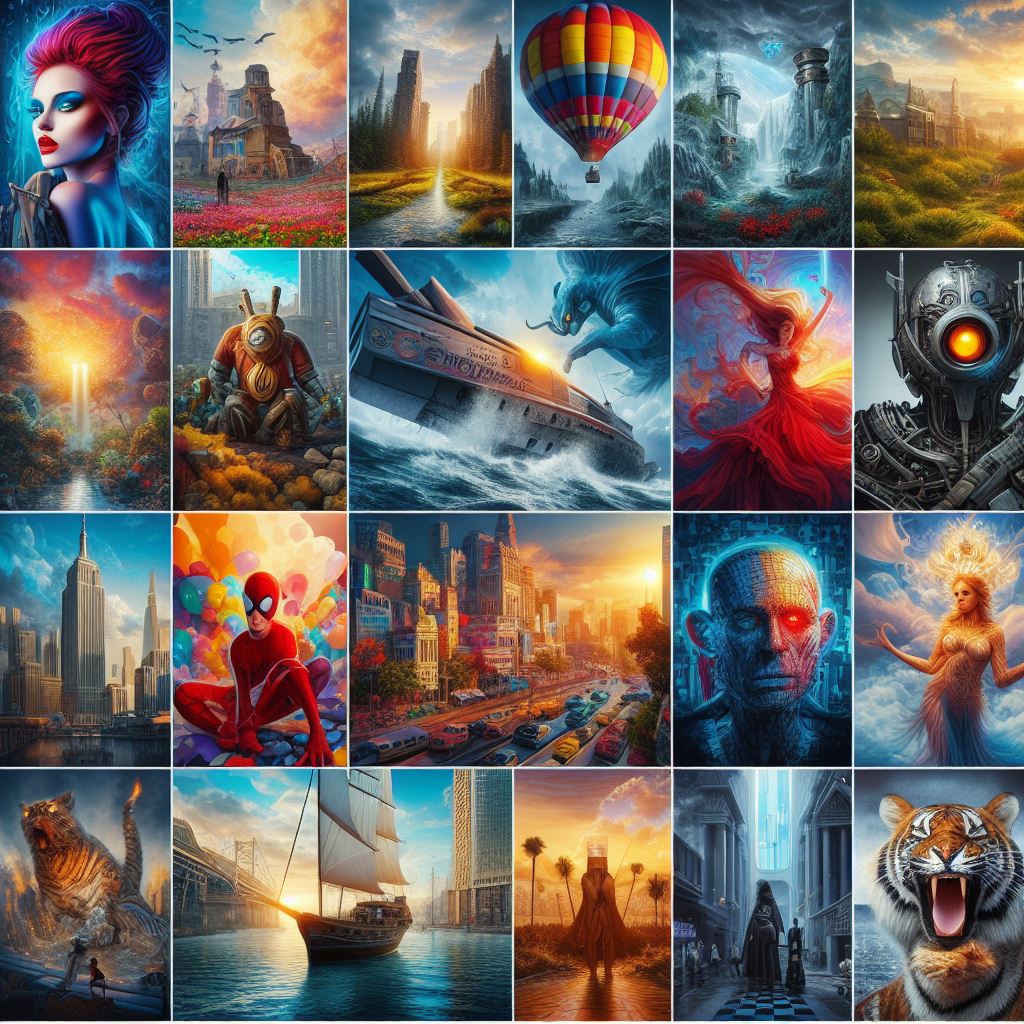
Mood Boards Aren’t Just for Pinterest: Visualizing Your World If you’re thinking, “Mood boards are for designers, not writers,” let me stop you right there. Mood boards are a powerhouse tool for anyone looking to bring a creative vision to life—including us wordsmiths. Think of them as a visual playground for your story, a way to map out your characters, settings, and themes beyond the written word. And here’s the best part: creating a mood board is ridiculously fun. It’s like piecing together a puzzle made entirely of inspiration. Why Writers Should Use Mood Boards As writers, we often live in our heads. We see our characters, settings, and plots vividly, but translating that into words isn’t always easy. That’s where mood boards come in. They help you externalize your ideas, giving you a tangible reference point that makes your story feel real. Imagine you’re building a fantasy world. Sure, you can describe it in intricate detail, but wouldn’t it be helpful to have a visual guide—a mix of images that capture the architecture, landscapes, and vibe of your world? Or maybe you’re writing a contemporary romance and want to get the tone just right. A mood board filled with soft lighting, cozy coffee shops, and heartwarming color palettes can act as a north star for your writing. Step 1: Define Your Focus Before diving in, decide what your mood board will focus on. Is it for a specific character? A setting? The overall tone of your story? For example: Character Mood Boards: Include fashion styles, facial expressions, hairstyles, and even symbolic objects that represent your character. Setting Mood Boards: Gather images of landscapes, architecture, weather patterns, and interior designs that define your story’s locations. Tone and Theme Boards: Use colors, abstract art, and textures to convey the emotional heartbeat of your story. Having a clear focus will prevent you from spiraling into “Pinterest overload,” where you save every image that catches your eye but end up with a chaotic jumble of unrelated visuals. Step 2: Gather Your Materials The beauty of mood boards is that they can be physical or digital. Choose what works best for you: Physical Mood Boards: Use magazines, newspapers, photographs, fabric swatches, and even found objects. Pin them to a corkboard or collage them into a notebook. Digital Mood Boards: Platforms like Pinterest, Canva, and Milanote make it easy to curate and organize your visuals. Simply drag and drop images into a cohesive layout. Don’t be afraid to mix and match mediums! A physical mood board next to a digital one can give you the best of both worlds. Step 3: Curate, Don’t Collect Here’s a mistake I’ve made more times than I’d like to admit: collecting every vaguely interesting image without a clear idea of how it fits. Mood boards work best when they’re curated. Each image should serve a purpose, whether it’s capturing a specific detail (like your protagonist’s favorite leather jacket) or setting the emotional tone (like a stormy seascape for a pivotal scene). A good rule of thumb is to start broad and then refine. Gather lots of inspiration first, but as your vision becomes clearer, weed out the extras. Think of it like editing a first draft—cut ruthlessly until only the essentials remain. Step 4: Organize for Impact The layout of your mood board matters. Group similar elements together to create a sense of cohesion. For example: Characters: Cluster all character references in one section—faces, clothing, and personality traits. Settings: Dedicate another section to landscapes, architecture, and key objects. Tone: Use colors and abstract elements to tie everything together. This level of organization doesn’t just make your mood board visually appealing; it also makes it easier to use as a writing reference. Step 5: Let Your Mood Board Evolve Your story will change as you write it, and your mood board should evolve along with it. Don’t be afraid to swap out images or add new ones as your vision becomes clearer. A mood board is a living document—a visual reflection of your creative process. How Mood Boards Enhance Your Writing Let’s talk about the magic that happens when you use a mood board effectively. For me, it’s like having a cheat sheet for immersion. Stuck describing a room? Glance at your mood board and let the details flow. Unsure how your protagonist would dress for a date? That outfit you pinned three weeks ago might hold the answer. The visuals become touchstones that ground your writing and spark new ideas. Mood boards are also incredible for maintaining consistency. If you’re writing a sprawling novel with multiple settings and characters, it’s easy to lose track of the details. A mood board keeps everything in one place, making it your go-to resource for staying true to your vision. When to Use Your Mood Board Here are some ways to integrate your mood board into your writing process: Pre-Writing: Use it to brainstorm and solidify your story’s tone and direction. During Writing: Refer to it whenever you’re stuck or need a burst of inspiration. Revisions: Check your finished scenes against your mood board to ensure they align with your original vision. Mood Boards Aren’t Just a Tool—They’re a Journey Here’s the thing about mood boards: they’re more than a collection of pretty pictures. They’re a journey into the heart of your story, a chance to explore its nuances and bring its details into focus. And, let’s be real—they’re just plain fun to make. So grab your scissors, fire up Pinterest, or open a blank Canva template. Your story deserves a visual guide—and trust me, once you start, you’ll wonder how you ever wrote without one.     Bring Your Creative Vision to Life with Professional Visuals Creating a mood board is just the beginning of visualizing your story. What if you could take those ideas and turn them into high-quality visuals that capture the true essence of your characters, settings, and themes? That’s where we come in! At Unfocussed Photography and Imaging, we specialize in helping writers transform their creative ideas into stunning, professional visuals. Whether you’re preparing promotional materials, crafting an immersive book cover, or just need a clear visual reference for your story, we’ve got you covered. Custom Mood Board Design: Work with our team to expand your mood boards into cohesive visual guides that inspire your writing and storytelling. Character and Setting Illustrations: Bring your protagonists, antagonists, and worlds to life with personalized, detailed illustrations. Story Concept Visualization: Translate your ideas into polished images that reflect the heart of your narrative. With our creative services, you don’t just imagine your story—you see it. Ready to bring your ideas to life? Explore our creative services now and take your storytelling to the next level!

Read more

Explore Our Blogs, News and FAQ

Still looking for something?